Posts tagged ‘stripes’

jogging along

No, not running. That’s not a thing I do. At all. If I can help it.

I’m talking about the dreaded “jog” or “stair step” when working stripes in the round. If you don’t employ any one of a number of strategies, your colour changes from one stripe to the next will look something like this:

Back view of a green and black striped knitted baby bootie, showing how the stripes don't meet up, on a gray cloth surface.
Not too pretty is it?

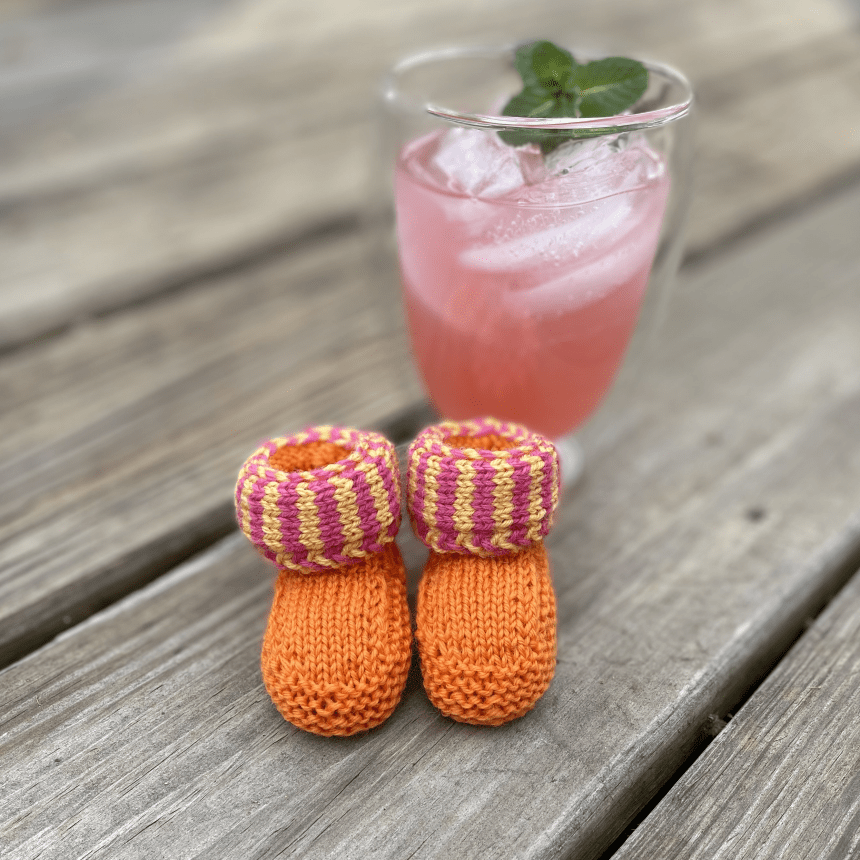
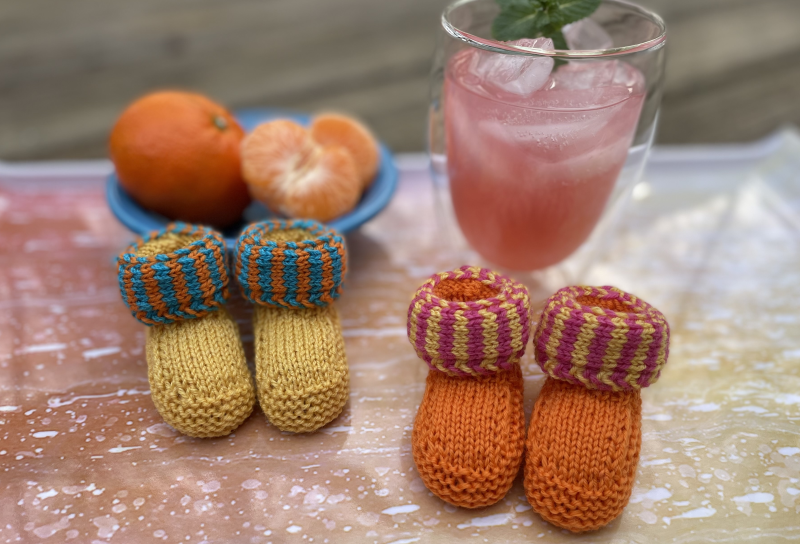
This is my newest pattern design that I’m working on – Crayon Booties. Lots and lots of tiny stripes in both garter stitch (on the sides of the feet) and stockinette stitch (on the cuff). Which also means lots and lots of yarn tails – another issue, but one that can be dealt with in tandem with reducing the jog – see below!

I’ve tried many different methods for achieving jogless stripes in the round and I’ve had varying degrees of success. There’s the “knit below” method – see this video from VeryPink Knits for a great demonstration. Like many people, I really like this technique, but, as she explains, as part of the process the beginning of round (BOR) effectively shifts to the left by one stitch every time you do it. For a deep dive into jogless stripes, the TechKnitter covers the “slip the 1st stitch of the 2nd round of your new colour” method, among other tips and tricks. This technique also shifts the BOR one stitch to the left. Then there’s the “yo jogless jog” technique, which is a fairly new one to me, but it’s now the one I prefer, especially for booties where there’s a definite “center back” and I don’t want the BOR to shift between rounds. This video, from Roxanne Richardson, covers this “yo” method, as well as the “knit below” method.

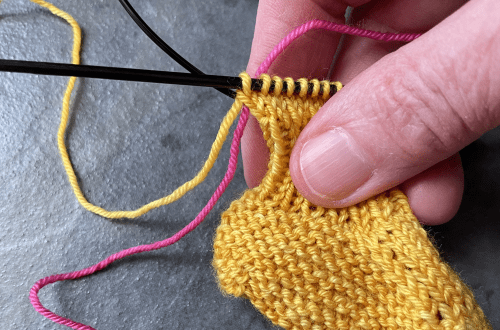
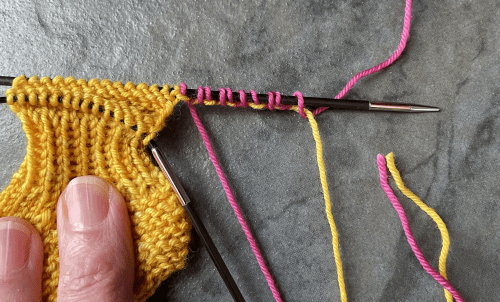
What I actually do is utilize the yo method from above for reducing the jogs in combination with this technique, as demonstrated by heyBrownBerry, for “knitting in” both the beginning and ending tails of yarn (incidentally, in this video, she does the “slip stitch” method when changing colours in stripes). Anchoring the beginning tail during the last round of your “old” colour means that the yo in the “new” colour is much easier to do. Plus, you’ve already dealt with one of those pesky tails! When you are ready to start a new stripe in a repeat colour, as in my Crayon Booties, your “new” colour is already neatly anchored at the end of the previous round you worked in it. If you do both these things in tandem, you will have woven in *all* your tails and reduced the jog as you work the stripes. Win, win!

Back view of a pink and black striped knitted baby bootie, showing how the stripes mostly meet up, on a gray tile surface.
Not perfect, by any means, but much better!

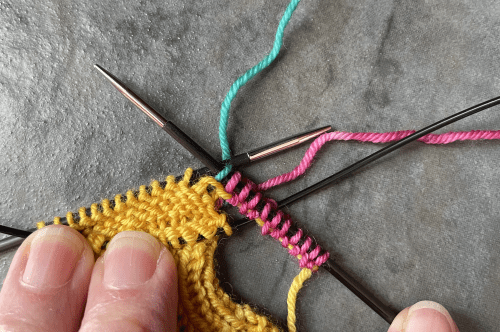
It looks like I could do a little more to even out the tension when transitioning from one colour to the next (I’m looking right at you, little one-round high pink stripe in the middle!), but overall, I think it’s much improved from the green bootie pictured above. It worked surprisingly well in the garter stitch stripes on the foot.

I’ll be testing the Crayon Booties very soon, and I hope to release the pattern by the middle of May!

Two pairs of knitted baby booties made to look like crayons sit on a partially colored coloring sheet with a box of crayons and some loose crayons nearby.
Leave a comment

going sideways …

I’ve made and designed quite a few things where you work an edging sideways onto live stitches. Sometimes it’s as simple as an attached i-cord edging, other times it’s a bit more of a challenge.

A pair of orange, pink, and yellow knitted baby booties sit on a weathered deck in front of a glass of pink lemonade.

For my Sunny Day Booties pattern, I really wanted the effect of the narrow stripes of bright, contrasting colours, but I had absolutely no desire to achieve those stripes with colourwork. It seemed like it would be much easier to knit the outer cuff of the bootie sideways, joining it to the live stitches at the top of the inner cuff as it’s worked.

Of course, to finish it off neatly and (hopefully!) invisibly, grafting is required. So, that means a provisional cast-on. There are a lot of different methods of casting on provisionally, like the crochet chain method, the needle & hook method (which is really just the crochet chain method worked directly on to your knitting needle), using Judy’s Magic Cast-On (JMCO) as a provisional cast-on, the long tail provisional cast-on, and this one, which I really like for the easy way you can retrieve your provisionally cast-on stitches.

Here’s how I do it in my Sunny Day Booties pattern …

Here’s the bootie with the Inner Cuff finished in the main colour (MC: yellow). I’ll use the MC tail as my waste yarn and use it and my first contrast colour (CC1: pink) to provisionally cast on (PCO) the stitches I need for the Outer Cuff. I’ll use the last method I linked to above. I’m working the PCO onto the needle with the MC tail attached.

Here, I’ve completed my provisional cast-on. The MC Inner Cuff stitches are on the right and the CC1 provisional stitches are to the left of those. Don’t forget to use the MC tail as your waste yarn to save on ends to weave in! When you work this PCO, your working yarn – the one you want to continue using, in this case the CC1, will form the stitches on the needle, and your waste yarn will run neatly through the bottom of them.

I’ve turned the needle around and I have my CC1 PCO ready to work row 1 of the Outer Cuff, with the MC Inner Cuff sts also on the needle. I work my booties using the magic loop method, so you can see half the Inner cuff sts on one needle and the other half on the other (the cable is out of shot here, to the left).

Here, I’ve worked row 1 of the Outer Cuff in CC1 and CC2 (turquoise). The Outer Cuff will be joined to the Inner Cuff by working together 1 Inner Cuff stitch and one Outer Cuff stitch in a decrease at the end of every even-numbered (right side) row. You can see the nice straight line of the MC waste yarn sitting under the CC1 PCO stitches.

When it comes time to undo your PCO, just gently ease the waste yarn out of the PCO sts. I like to use a much smaller diameter double-pointed needle to do this, then I transfer them to my working needle. You may have to realign some of the stitches as you transfer them over. Then you’re ready to graft your live stitches from the last row of the Outer Cuff together with the PCO stitches. Grafting, (commonly known as Kitchener stitch), is a method of joining two sets of stitches together so that the join is invisible (it looks just like another row of knitting). It’s most commonly used to finish the toes in socks knitted from the cuff down.

The finished booties have a nifty little striped cuff, with the stripes going sideways (perpendicular) to the rest of the bootie.

Leave a comment