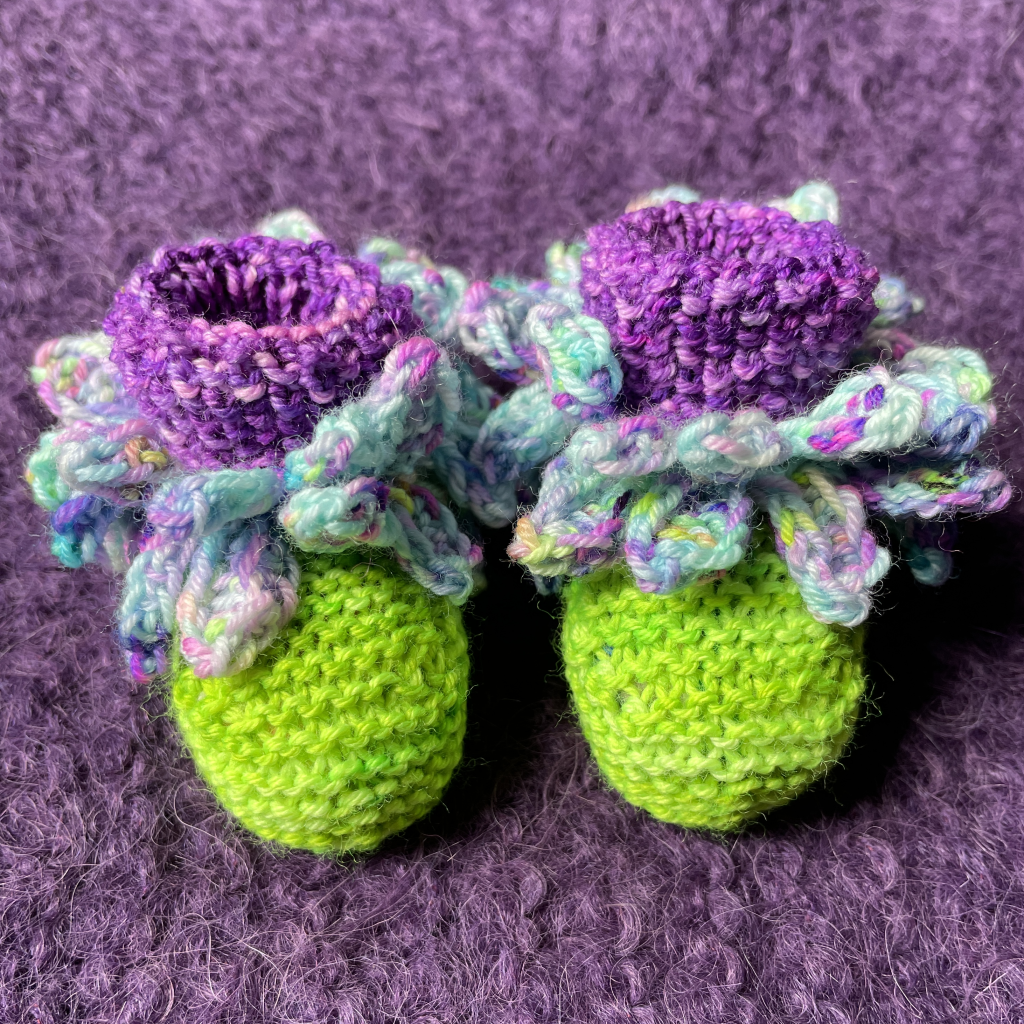
flower power
So, sometimes I design slightly wacky things. Sometimes the things I design are a bit wacky to actually knit. My Flower Shop Booties have a few *really* fiddly sections which can be a little awkward to work. Let me show you how I tackle some of these sections …
Final round of the cuff: this is where you’re attaching the top of the cuff to the base of the cuff after folding it over halfway. I strongly recommend using dpns for this section, even if you’re a diehard magic loop fan like me. Below, you can see 5 stitches already picked up on one dpn and the tip of that needle is inserted up and through the next CC1 (purple) stitch from the first (purl) round of the cuff:
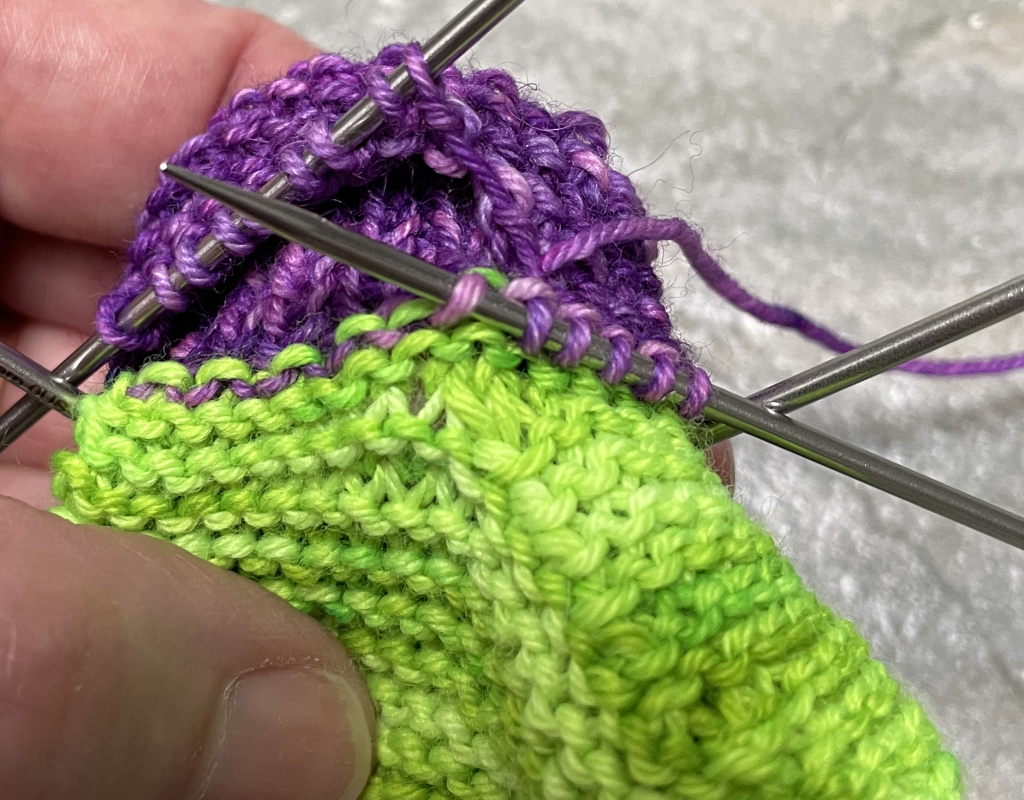
I’ll then knit the next stitch on the left-hand needle (which has the remaining stitches from the final seed stitch round of the cuff), and pass the picked-up stitch over that stitch. This method joins the top of the cuff neatly to the bottom of the cuff, ready to work your Petal Base.
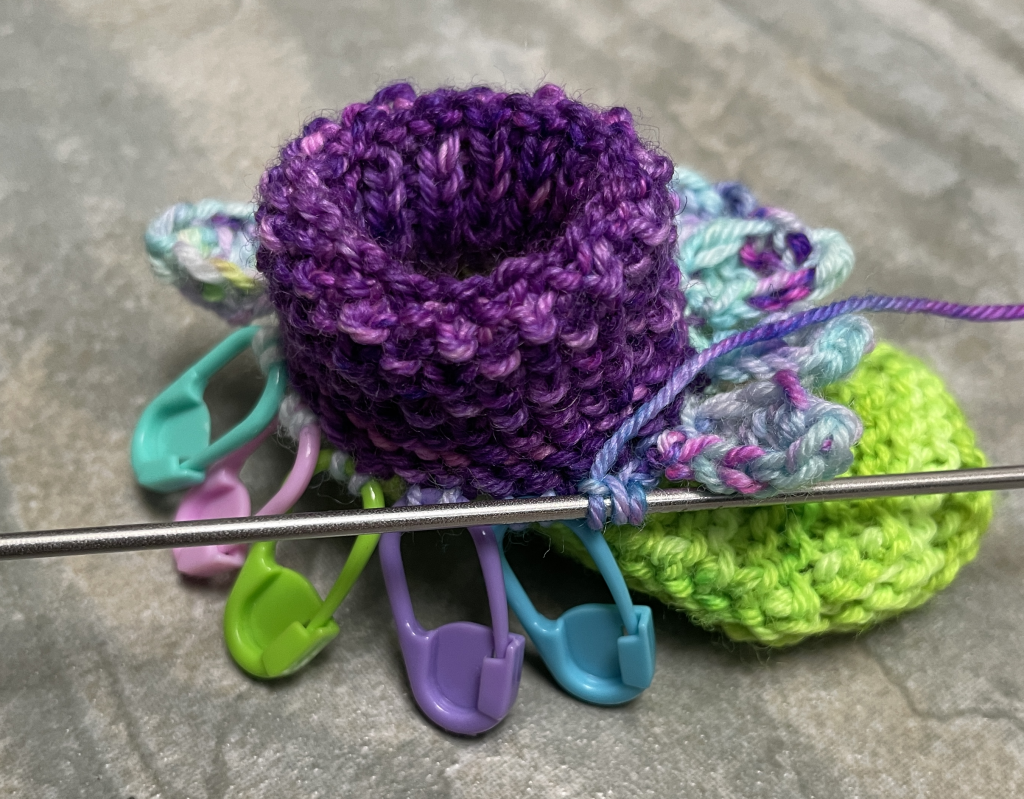
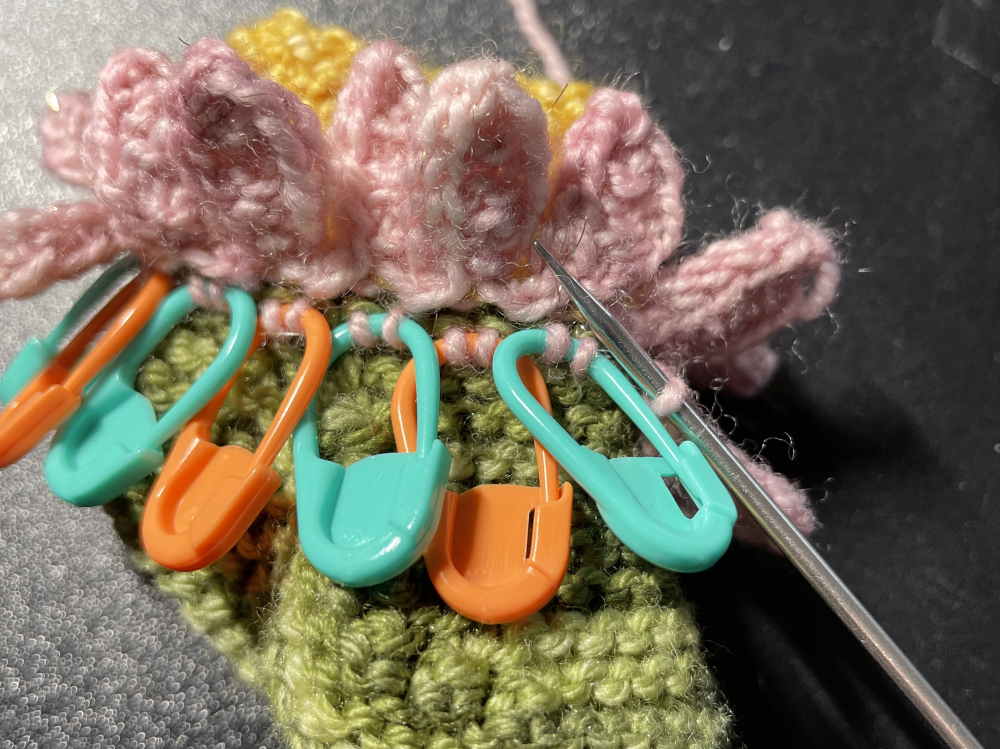
If you’re making booties with the Multi Petals, after you’ve worked the Petal Base, consider transferring your stitches, in pairs, from your needles onto lockable stitch markers. It will be much easier to wrangle each petal without dpns sticking out everywhere (and sticking into you, lol). You can just work the stitches straight off the stitch markers for each petal. I also like that I can easily see how many more petals I need to work, just by counting the remaining stitch markers. 🙂
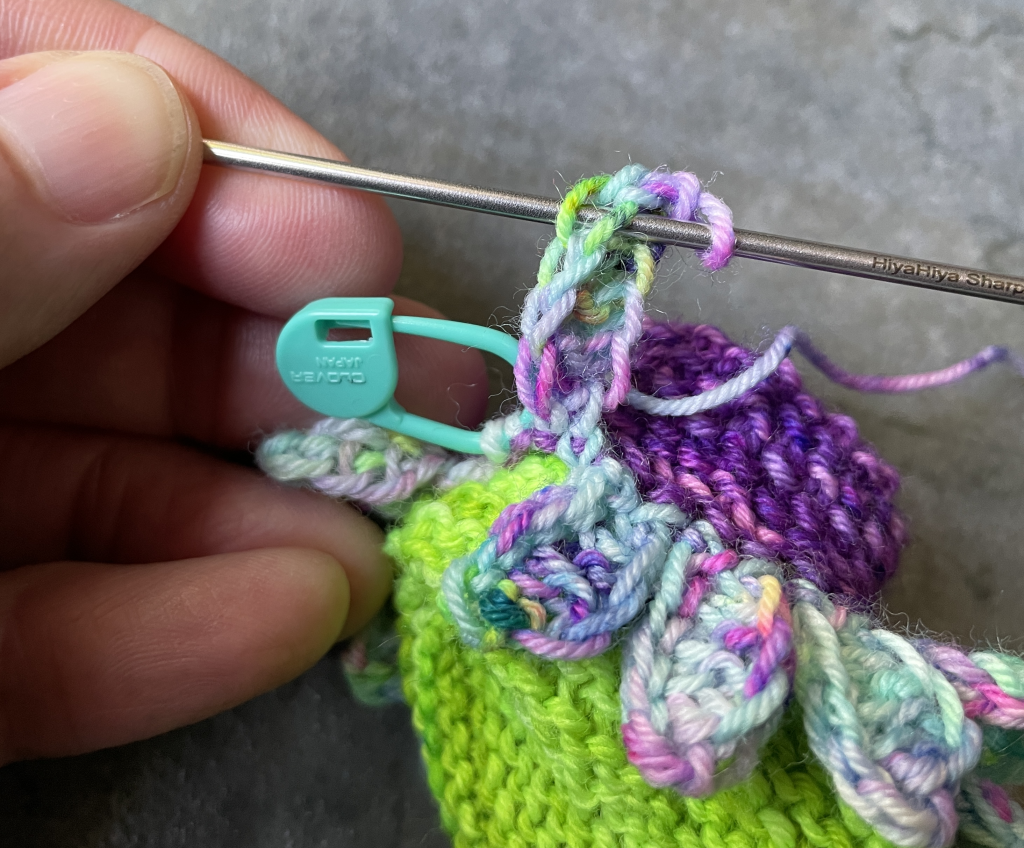
If you’ve decided to make flower booties with the Multi Petals in two layers, you’ve probably chosen the fiddliest of the bunch! When you have finished that first layer, you have to pick up stitches for the second layer. You can see, on this Star Magnolia bootie, that I’m inserting the needle up and through the next MC (green) stitch from the last round of the instep section, directly below the first layer of petals:
Definitely use lockable stitch markers again to wrangle your stitches, if you found that this trick worked for you on the first layer!
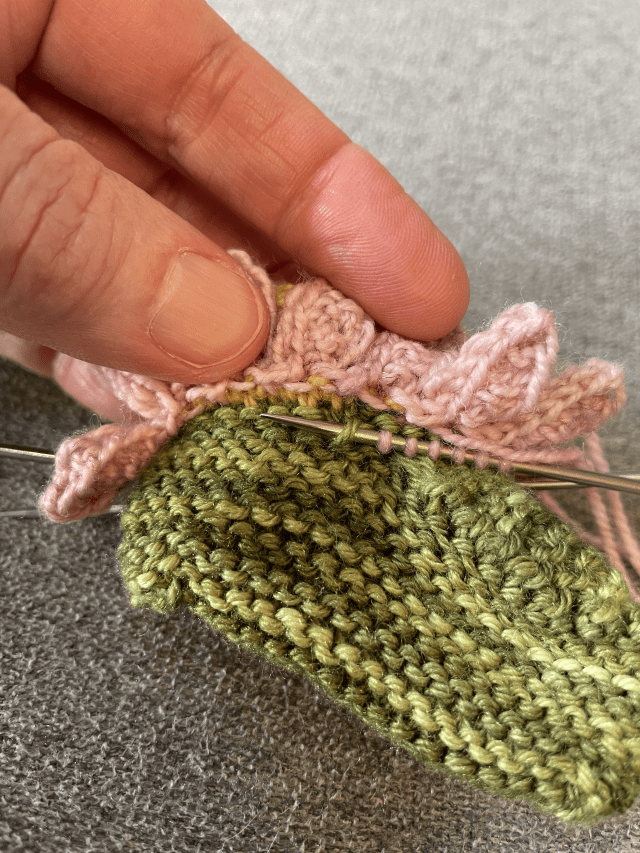
All the petal types use the same edging format (the sl1 pwise wyif, yb …… k1 tbl). This creates a nice line of elongated chain-like stitches along each side of the petal. When you “puk” (pick up and knit) and CO down the side of each petal, you’re picking up into these elongated stitches and creating a matching edge over the top of those. Here’s what it looks like when I have one stitch left on the needle at the top of a petal and I’m about to pick up the first stitch along the side:
I hope these tips and tricks help you make your Flower Shop Booties! Aren’t you glad you persisted?