Gusset magic
I’ve recently pushed myself out of my bootie designing comfort zone and I’m starting to design some accessory patterns. I’m particularly excited about working on some sock patterns as I love to knit socks and typically knit about a dozen pairs each year. Look for my Wavelength Socks pattern coming out in September 2022!
This new pattern has options for working cuff-down or toe-up. I really wanted the two styles to mirror each other pretty closely, so I opted for gussets and a flap heel for the toe-up version to match the cuff-down version. Magic loop is my preferred method for anything worked in the round, but sometimes there can be a few awkward sections where you feel like you have too many stitches on one needle to work comfortably. In the toe-up version of the pattern, when you reach the Heel Turn section, you have your heel stitches and all your gusset stitches on needle 2 (N2) which can make turning the heel hard to do. Here’s how I (temporarily) rearrange the gusset stitches to make it easier!
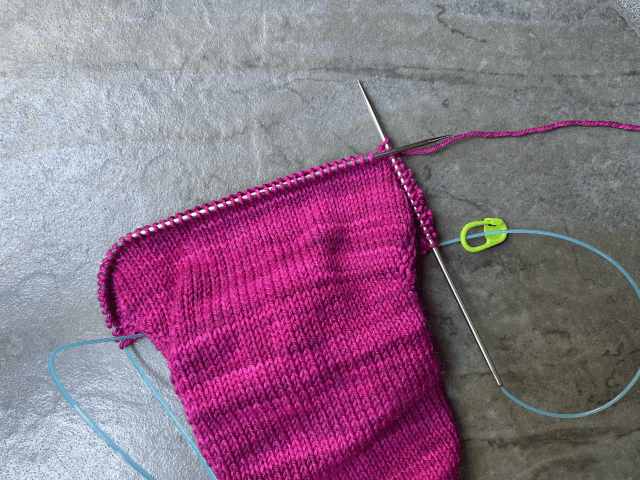
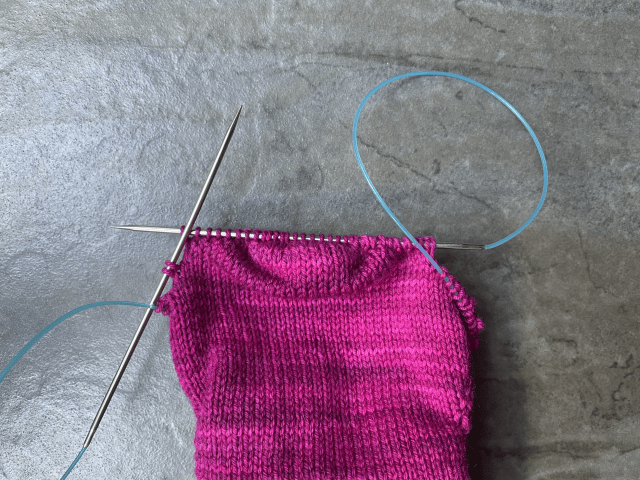
Step 1: Heel Turn Setup Round, part 1:
- N1: work across (in pattern if applicable)
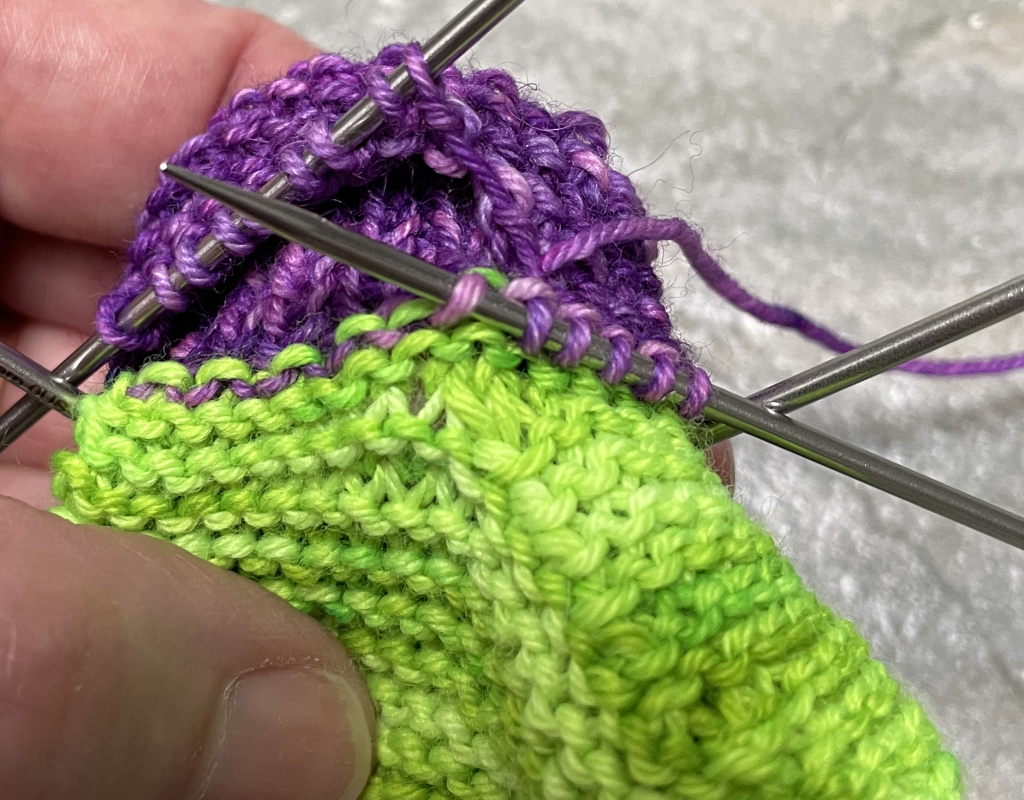
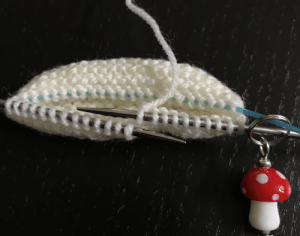
- N2: knit your right hand (RH) gusset sts1 (the stitches increased on each side of your heel stitches)
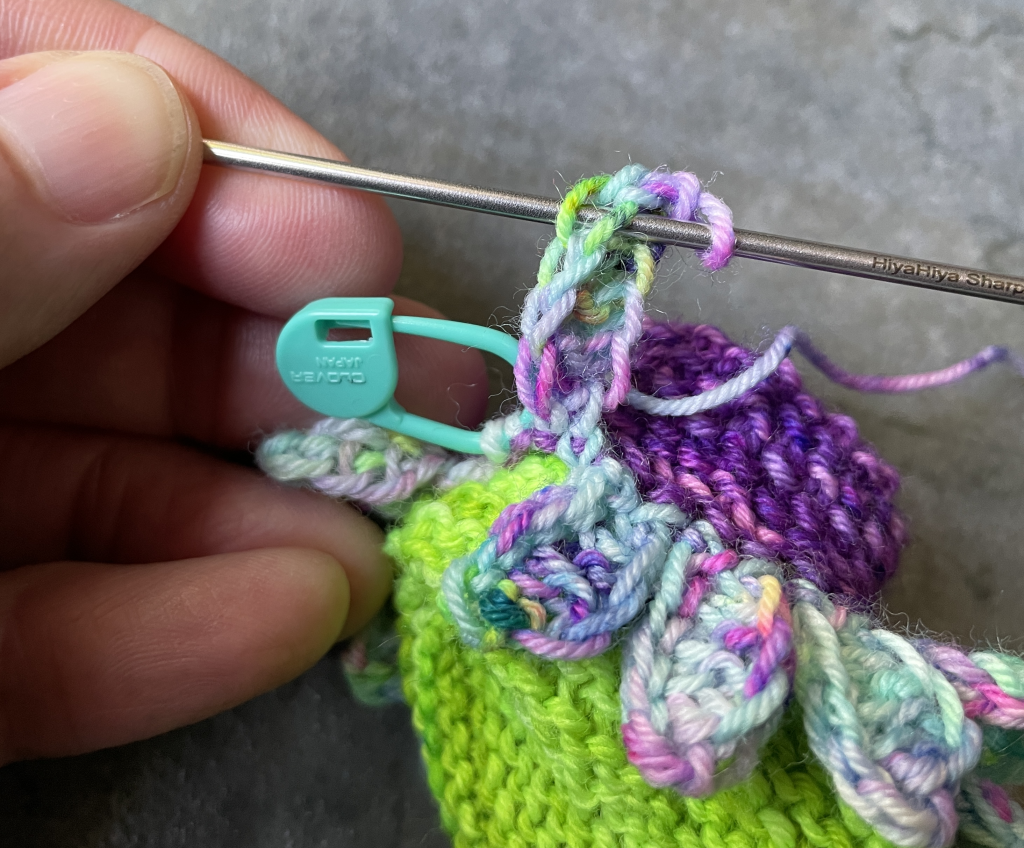
- Clip a lockable stitch marker onto the RH cable
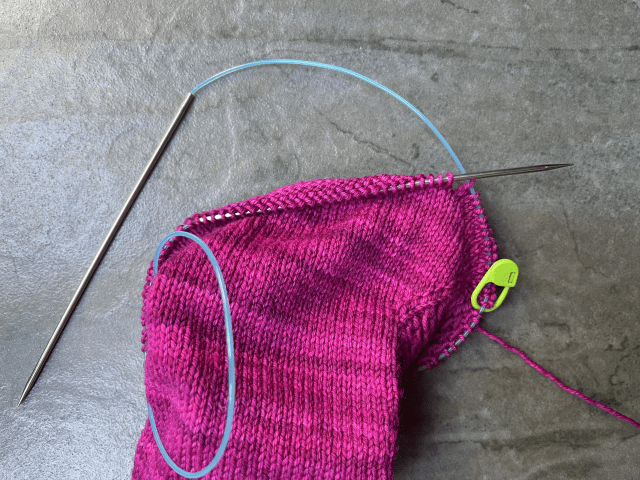
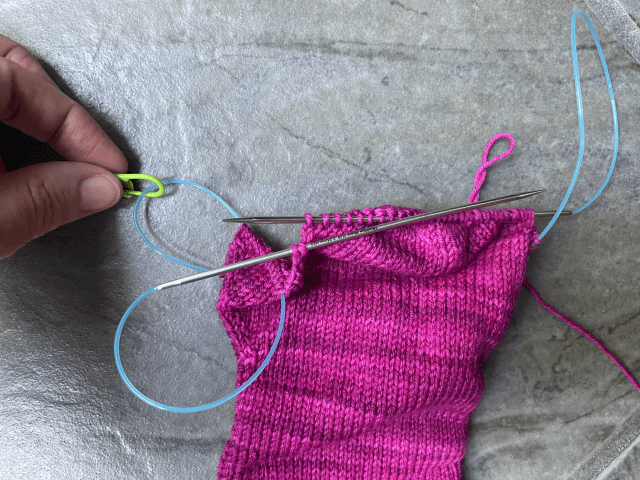
Step 2: Heel Turn Setup Round, part 2:
- Slide the RH gusset stitches back down the RH needle to the cable
- Pull the RH needle through, so the gusset stitches slip back onto the cable next to the instep stitches, separated by the stitch marker
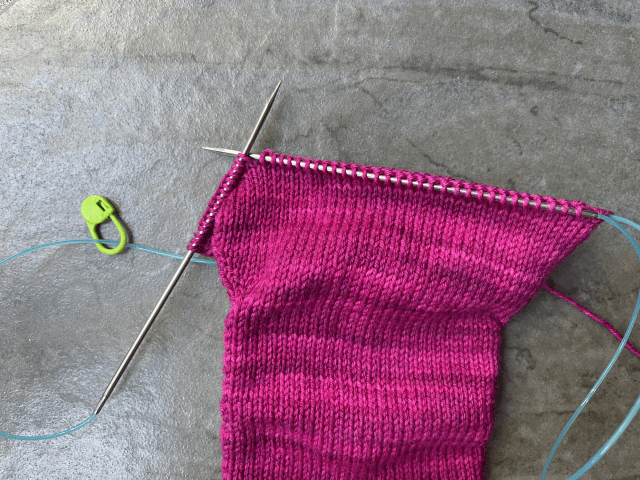
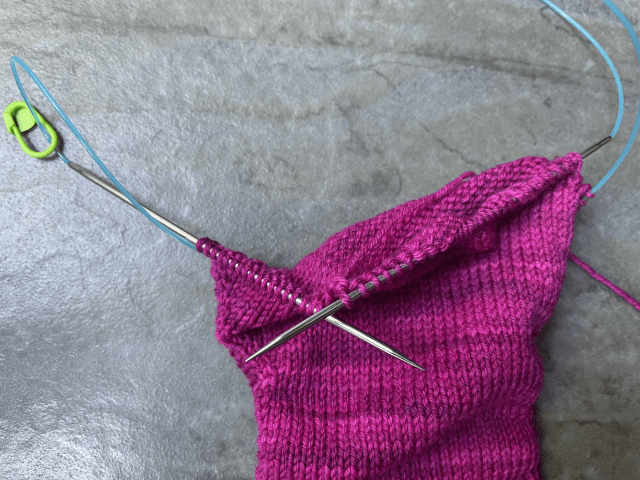
Step 3: Heel Turn Row 1
- N2: knit across heel stitches (half your original total foot stitches)
- Clip a lockable stitch marker onto the left hand (LH) cable
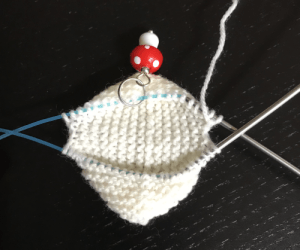
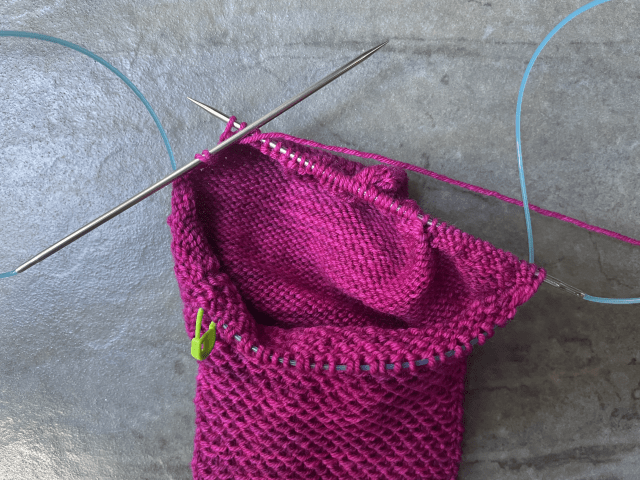
Step 4: end of Heel Turn Row 1:
- Slide the LH gusset stitches back down the LH needle to the cable
- Pull the LH needle through, so the gusset stitches slip back onto the cable next to the instep stitches, separated by the stitch marker
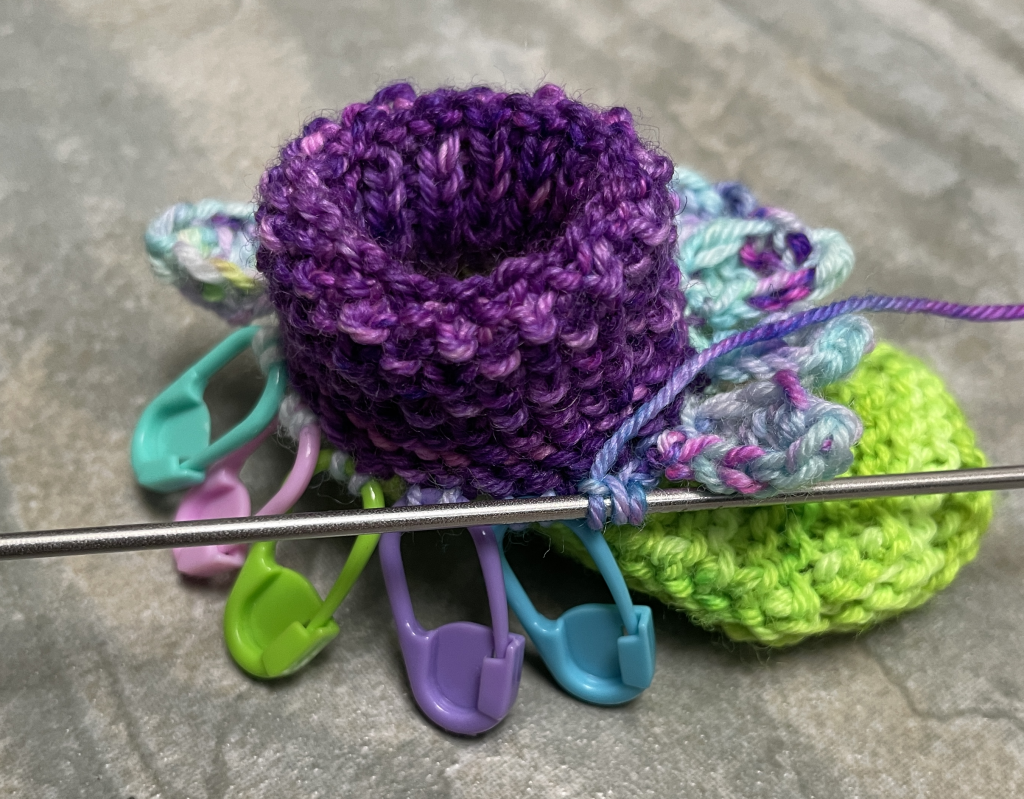
- Turn your work, ready to work flat doing German short rows for turning the heel
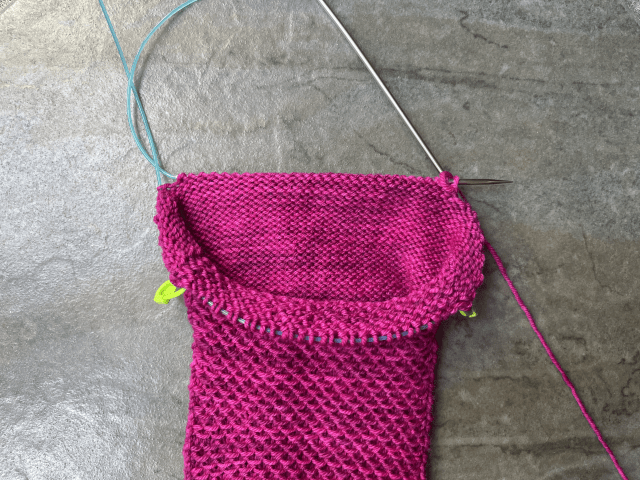
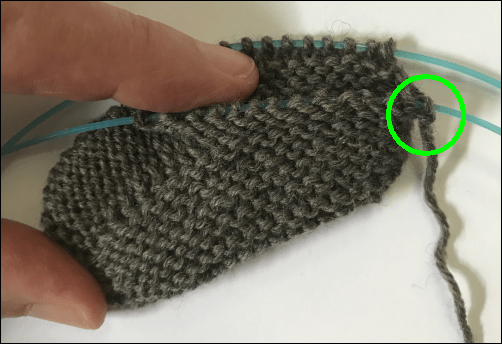
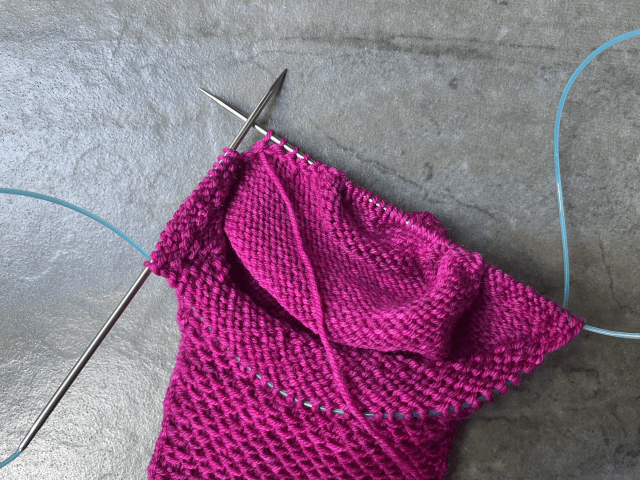
The Step 4 picture above shows the instep (patterned) stitches with the gusset stitches either side, sitting on the cable, waiting while you work the Heel Turn as directed. Once it’s completed, rearrange your stitches again as follows:
Step 5: Heel Flap Row 1:
- Make Double Stitch (DS) (this is the last one to even out the DS on each side of the center heel stitches), knit to last DS (making sure to work the DS through both legs as one stitch as you come to them)
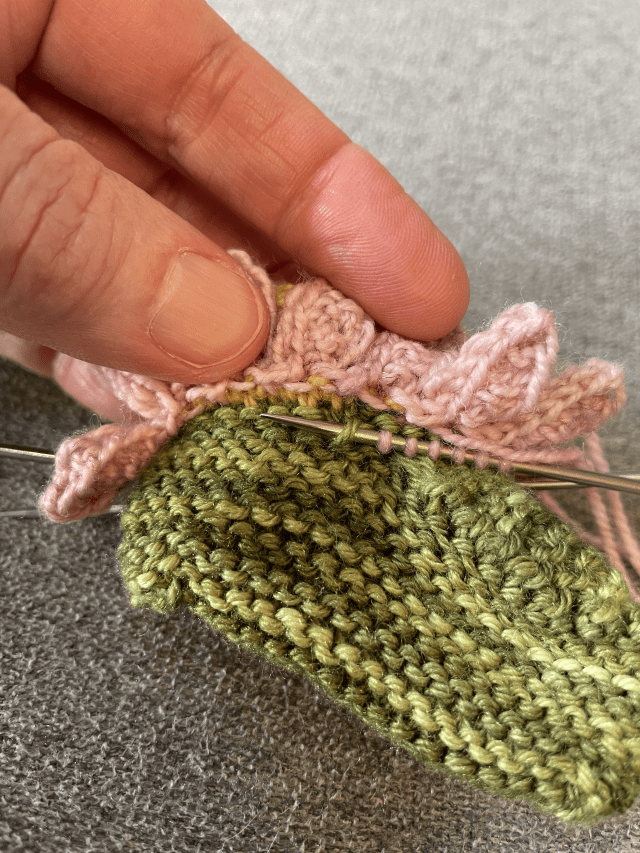
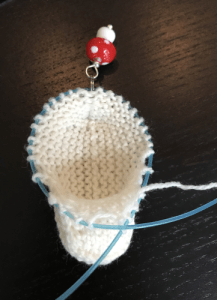
Step 6: end of Heel Flap Row 1:
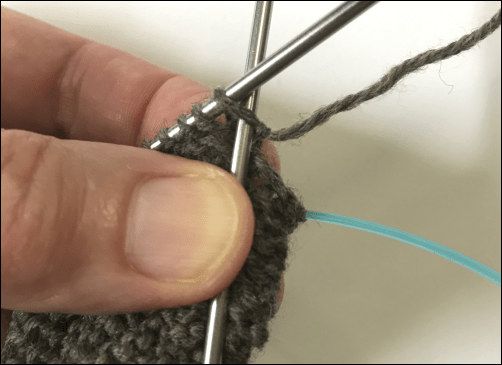
- Use your lockable stitch marker to gently pull the LH cable out between the instep stitches and the gusset stitches
Step 7: end of Heel Flap Row 1:
- Slide the gusset stitches back onto the LH needle
- Complete Row 1 by working an ssk (with the last DS and the first gusset stitch)
- Turn your work, ready for Row 2 of the Heel Flap
Step 8: Heel Flap Row 2:
- Slip 1, purl to last DS
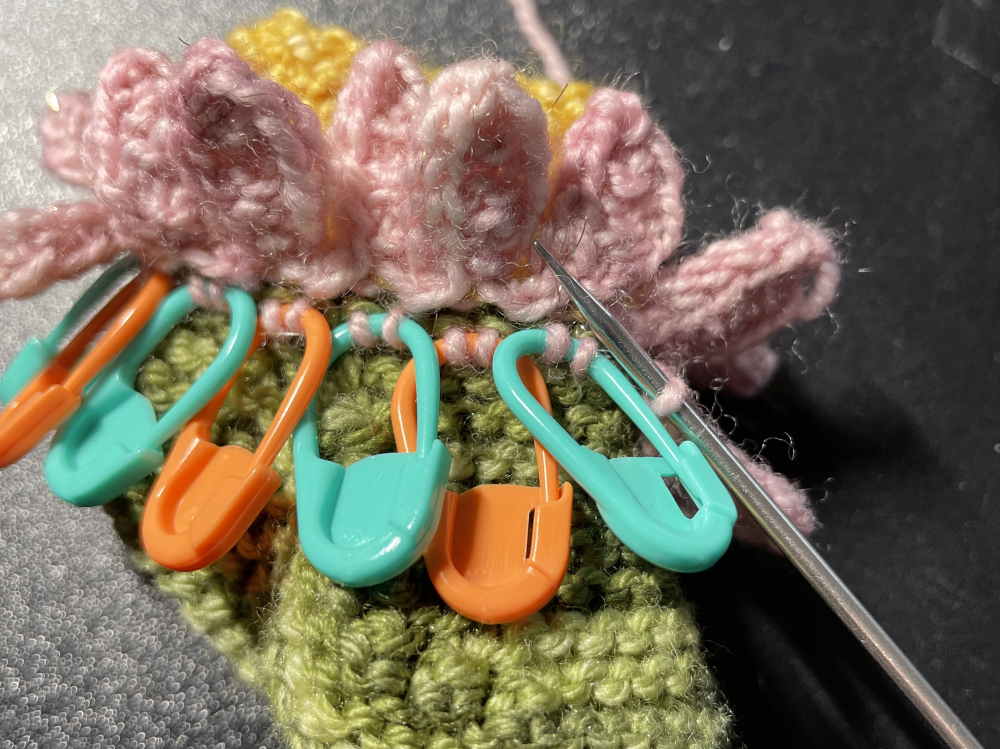
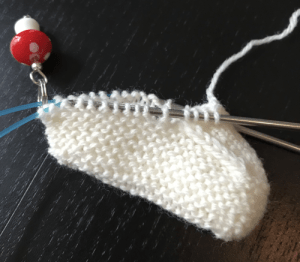
Step 9: end of Heel Flap Row 2:
- Use your lockable stitch marker to gently pull the LH cable out between the instep stitches and the gusset stitches
- Slide the gusset stitches back onto the LH needle
- Complete Row 2 by working a p2tog (with the last DS and the first gusset stitch)
- Turn your work, ready for Row 3 of the Heel Flap
Now you should be all set to continue working the Heel Flap as the pattern directs, decreasing away one gusset stitch at the end of each row.
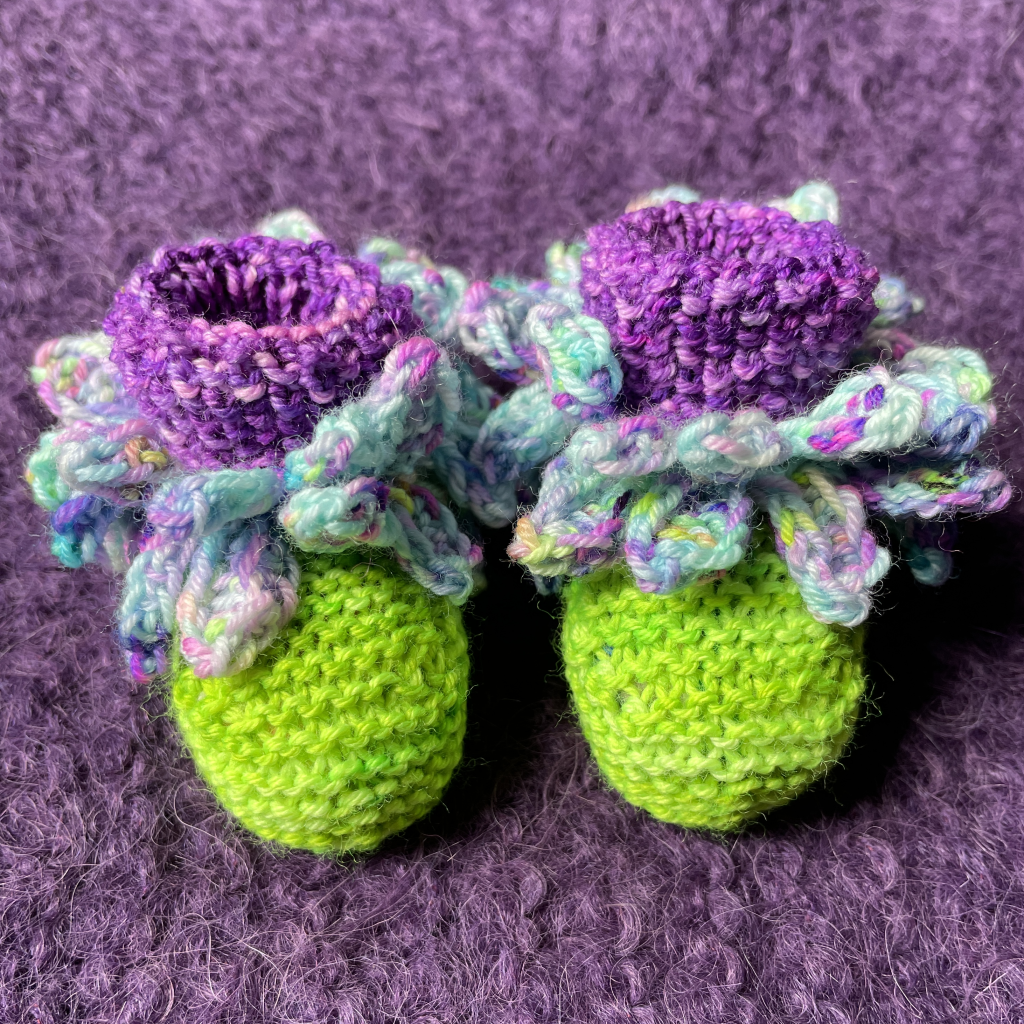
This sock in progress is in Republica Unicornia Merino Sock Superwash, in colourway Just a Jump to the Left.
1If this isn’t specified in your pattern, the formula to work it out is: (total # of sts after gusset increases minus original number of foot stitches) divided by 2